A Journey Begins on the Rails
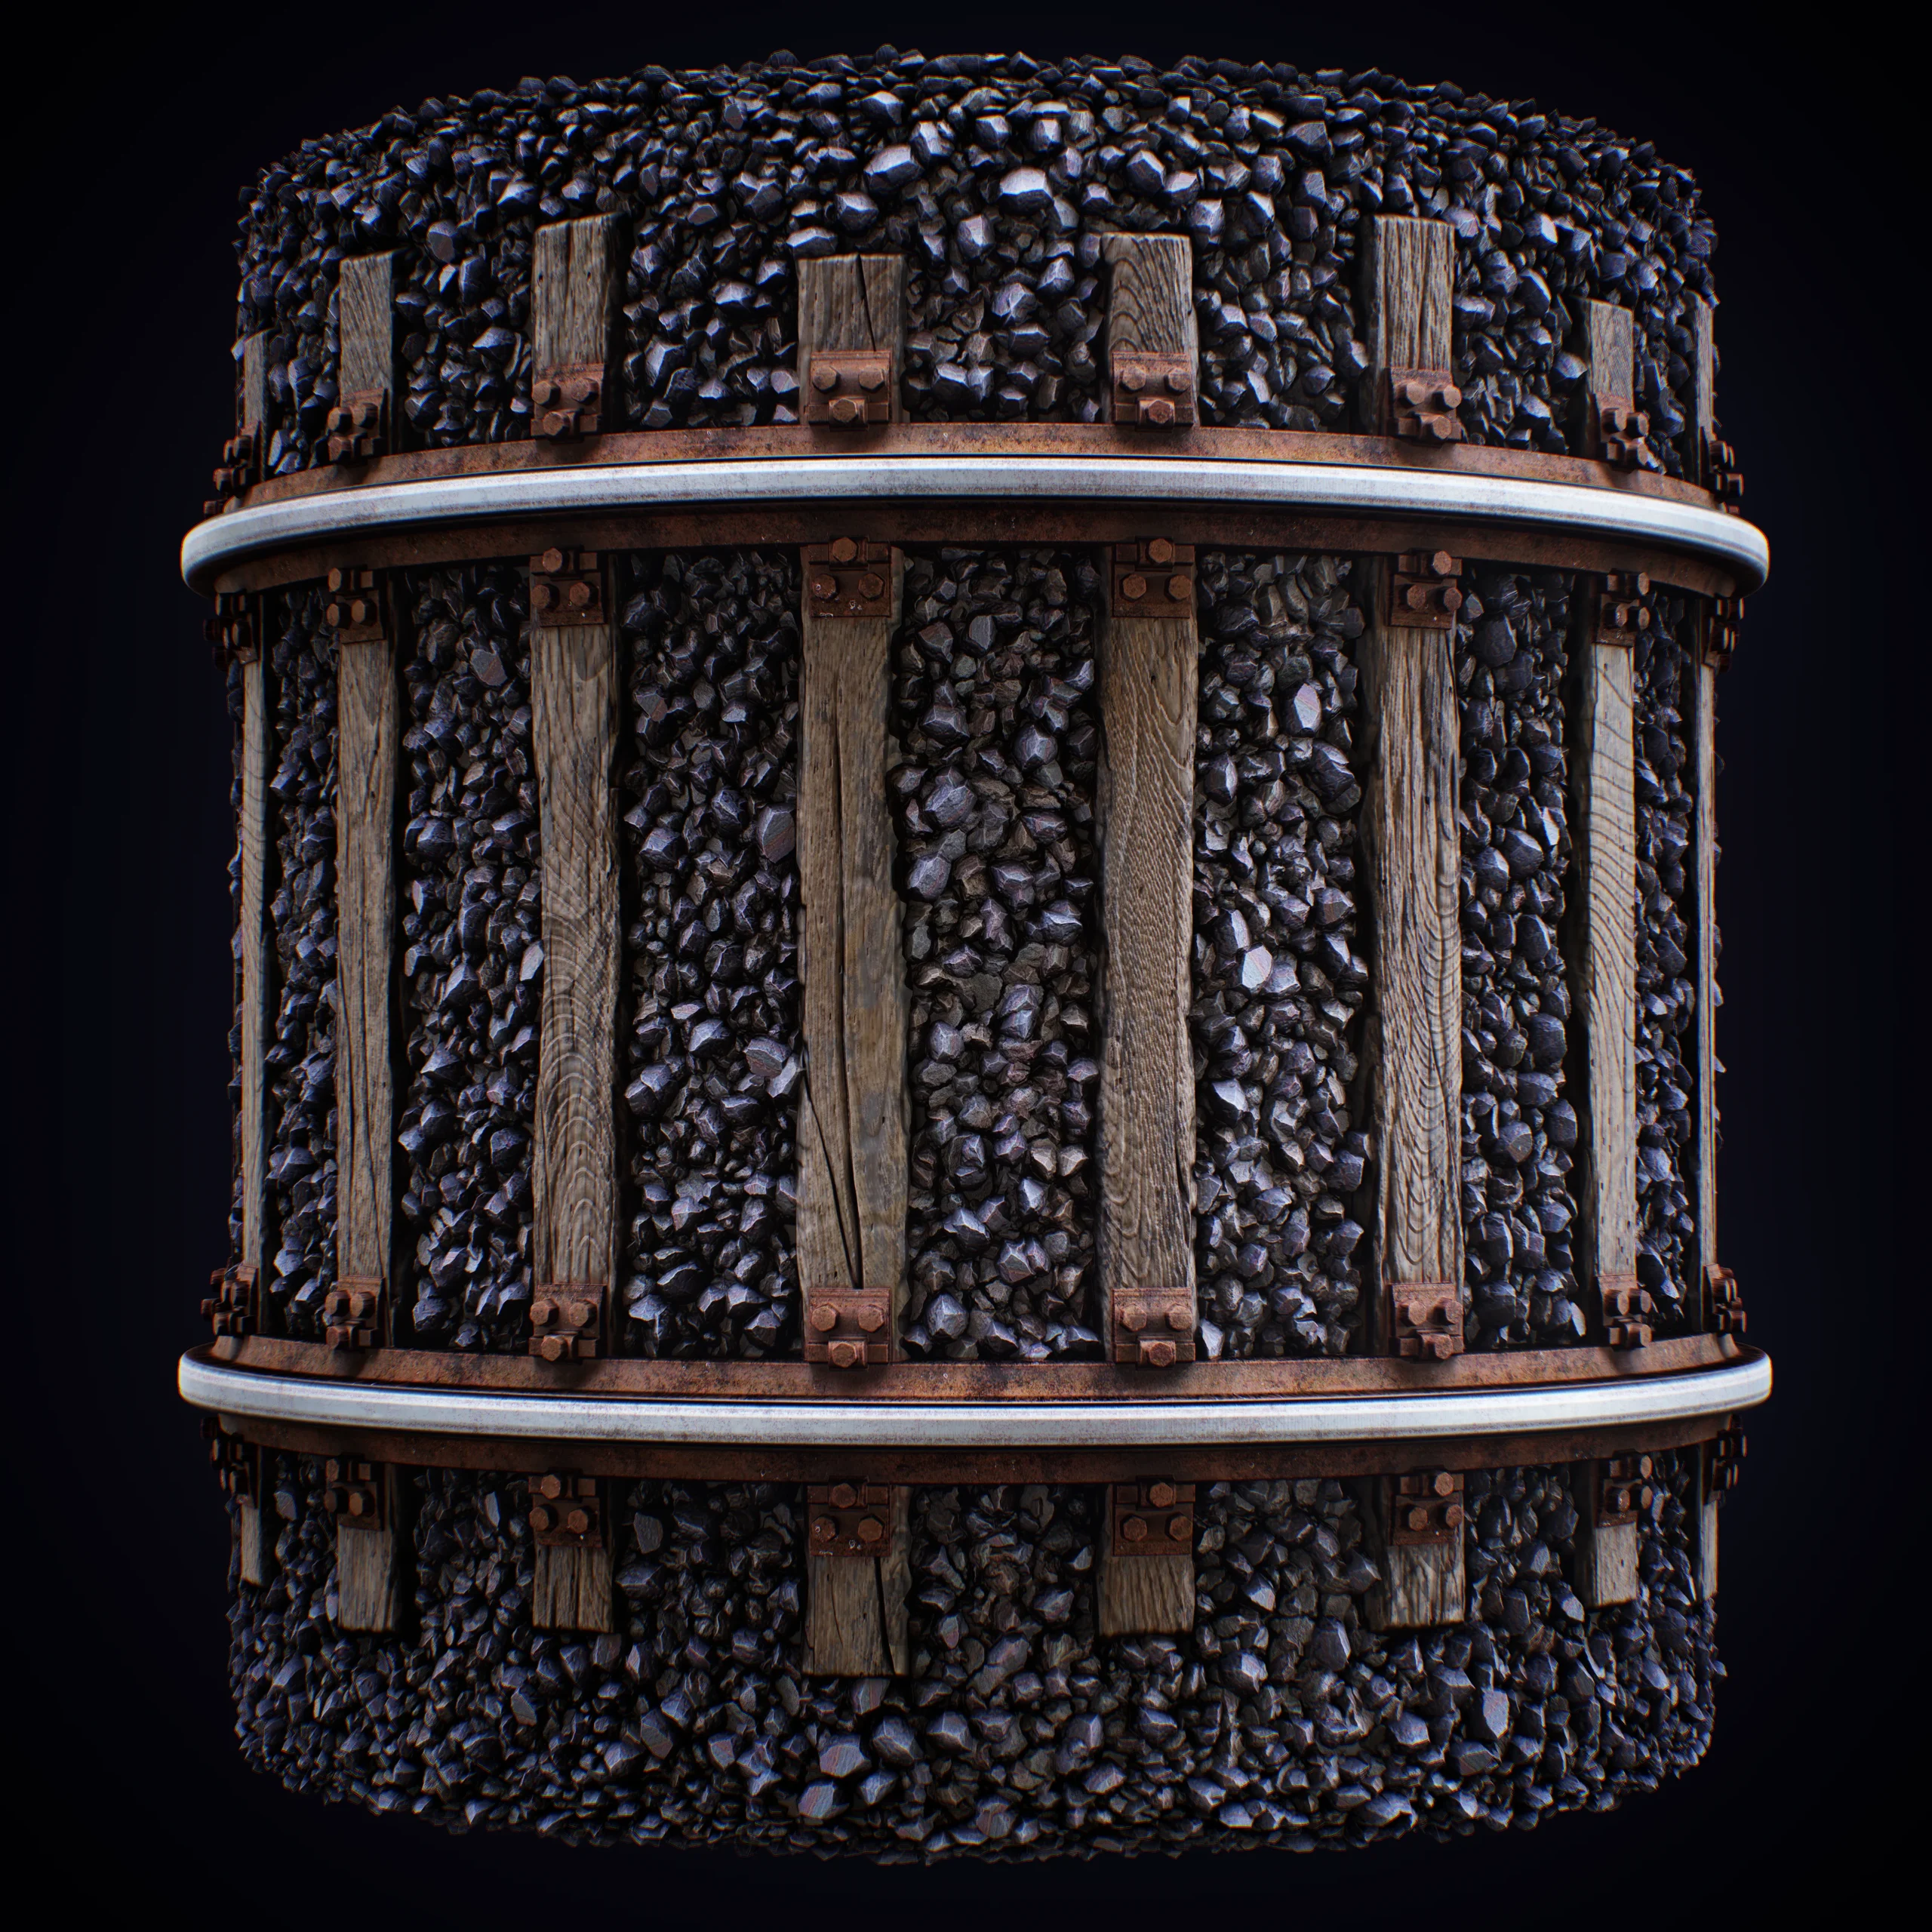
Creating a material that captures the essence of weathered railway tracks is no small feat. Each wooden beam, metal bolt, and gravel fragment tells a story of journeys past, and recreating that level of detail procedurally in Substance Designer is an art in itself. Join me as I take you through the process I followed to craft these railway tracks from the ground up—one splintered plank and rusted rail at a time.
Tracing the first steps: Planning & References
Every great project starts with a solid base, and for this procedural material, the references were a key aspect.
The first step was researching a variety of references which captured the main characteristics of the material. I took multiple pictures to have an overall vision of the different levels of wear and tear, I made sure to get references from the different kinds of ballast and the multiple damages that can take place on the surface of the rail.
In this case, my goal was to achieve a railway with some degree of aging but still in use, so this required from a delicate equilibrium. Firstly, the wood needed to have some signs of exposure to the rough weather but without looking completely rotten or unusable.
Secondly, the rails must look rusty but still functional, so the top of the rail needed to be polished or at least well maintained.
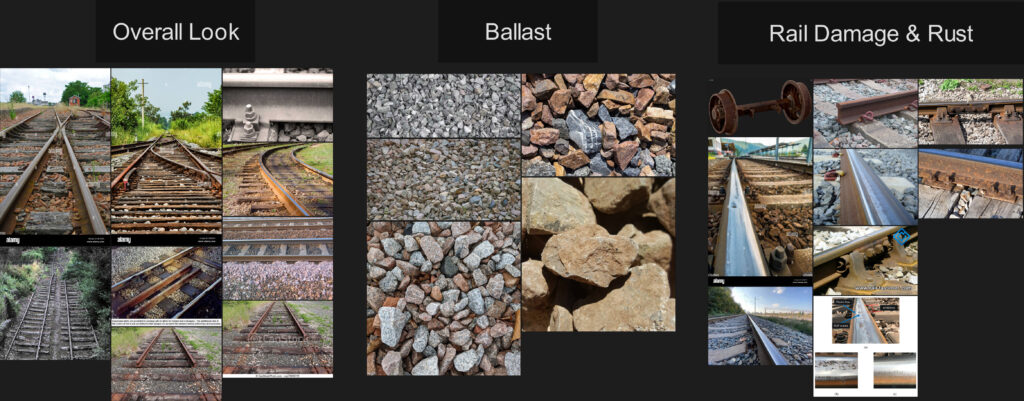
With a better vision and idea in mind, I was ready to start blending and tweaking nodes in Substance Designer.
Building up the foundations: The wooden ties
The heart of any railway track lies in its wooden ties. These weathered pieces, worn down by years of use, bear the weight of countless journeys, eroded by both the elements and the constant passage of trains. While designing them in Substance Designer, I aimed to capture that sense of wear and character.
Basic Shape
I began by generating the basic structure of the ties using a Tile Generator, which allowed me to apply some degree of randomness to the initial size and position. Then, using Non-Uniform Blur and HQ Blur, I softened the edges. Afterwards, I applied a couple of Slope Blurs to break up the outline of each tie and give the impression that parts of the edges had been chipped away due to aging.

A cool technique I applied here was using the Slope Blur to achieve an inflate effect. This technique is particularly useful for emulating various materials like bark, and in this case, it effectively represents damaged wood. However, it’s incredibly versatile and can be used creatively to create a wide variety of effects across different textures and surfaces.
Height Techniques | Designer Quick Tip #9 | Adobe Substance 3D.: Railway Material: On the Right Track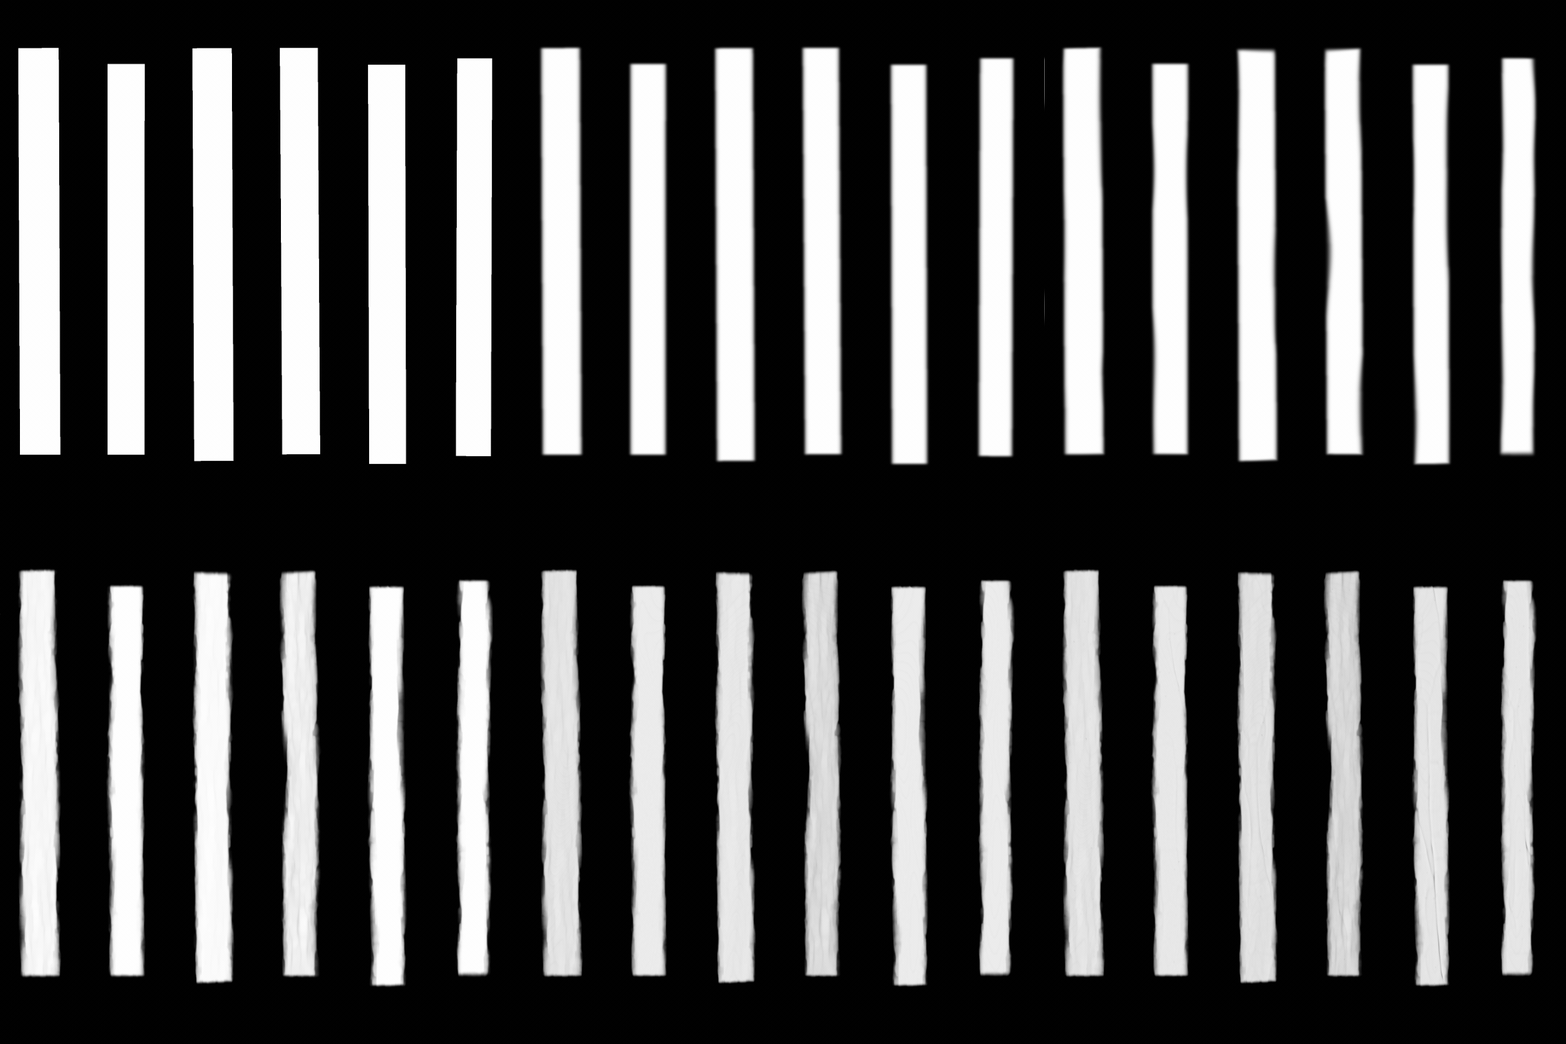
Wood Grain
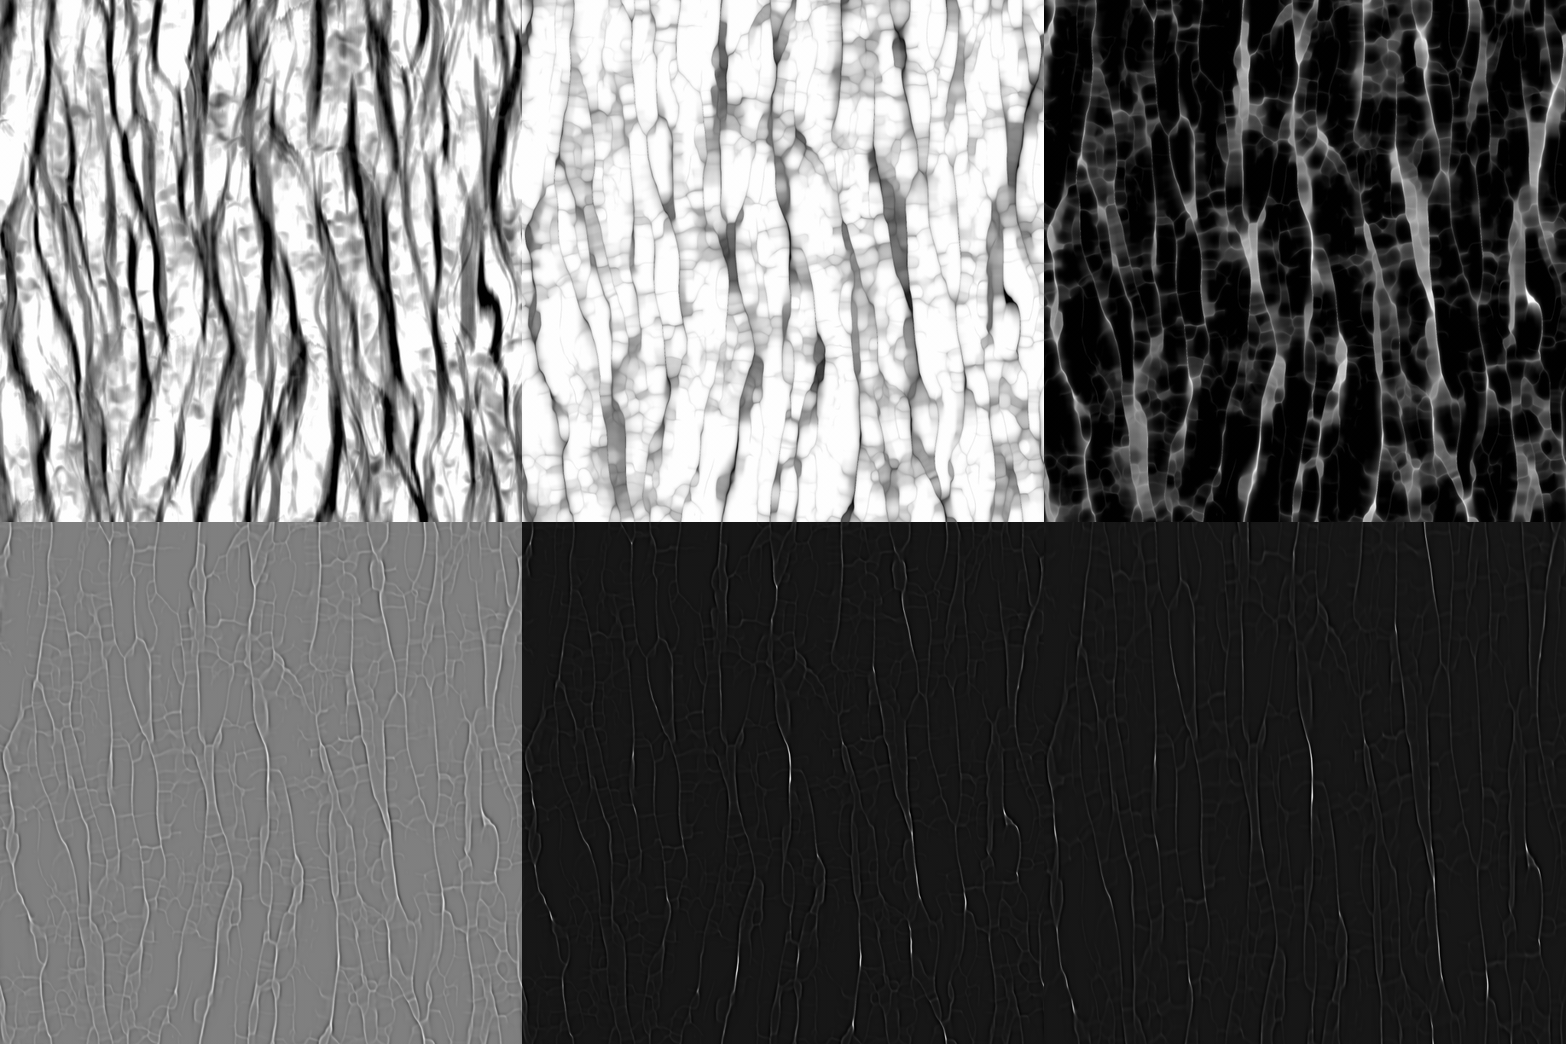
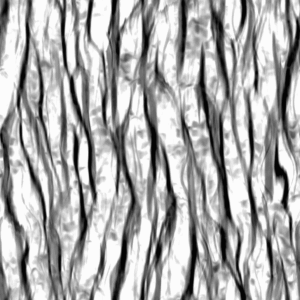
One of the most important details is the typical wood grain. To recreate it, I relied on the Warp node along with Gradient Dynamic. I won’t go into too much detail about the process, but I’ll leave some resources that Substance Designer itself provides on the topic.
Wood Grain | Designer Quick Tip #6 | Adobe Substance 3D.: Railway Material: On the Right Track
Perhaps the most remarkable part is the last section of the graph, where I used a combination of the Normal node, Normal to Height, and Highpass to achieve a smoother version and bevel the top edges of the height. I learned this technique from Derk Elshof and his Aged Wood Course.
Creating an Aged Wood Texture in Substance Designer | Derk Elshof.: Railway Material: On the Right Track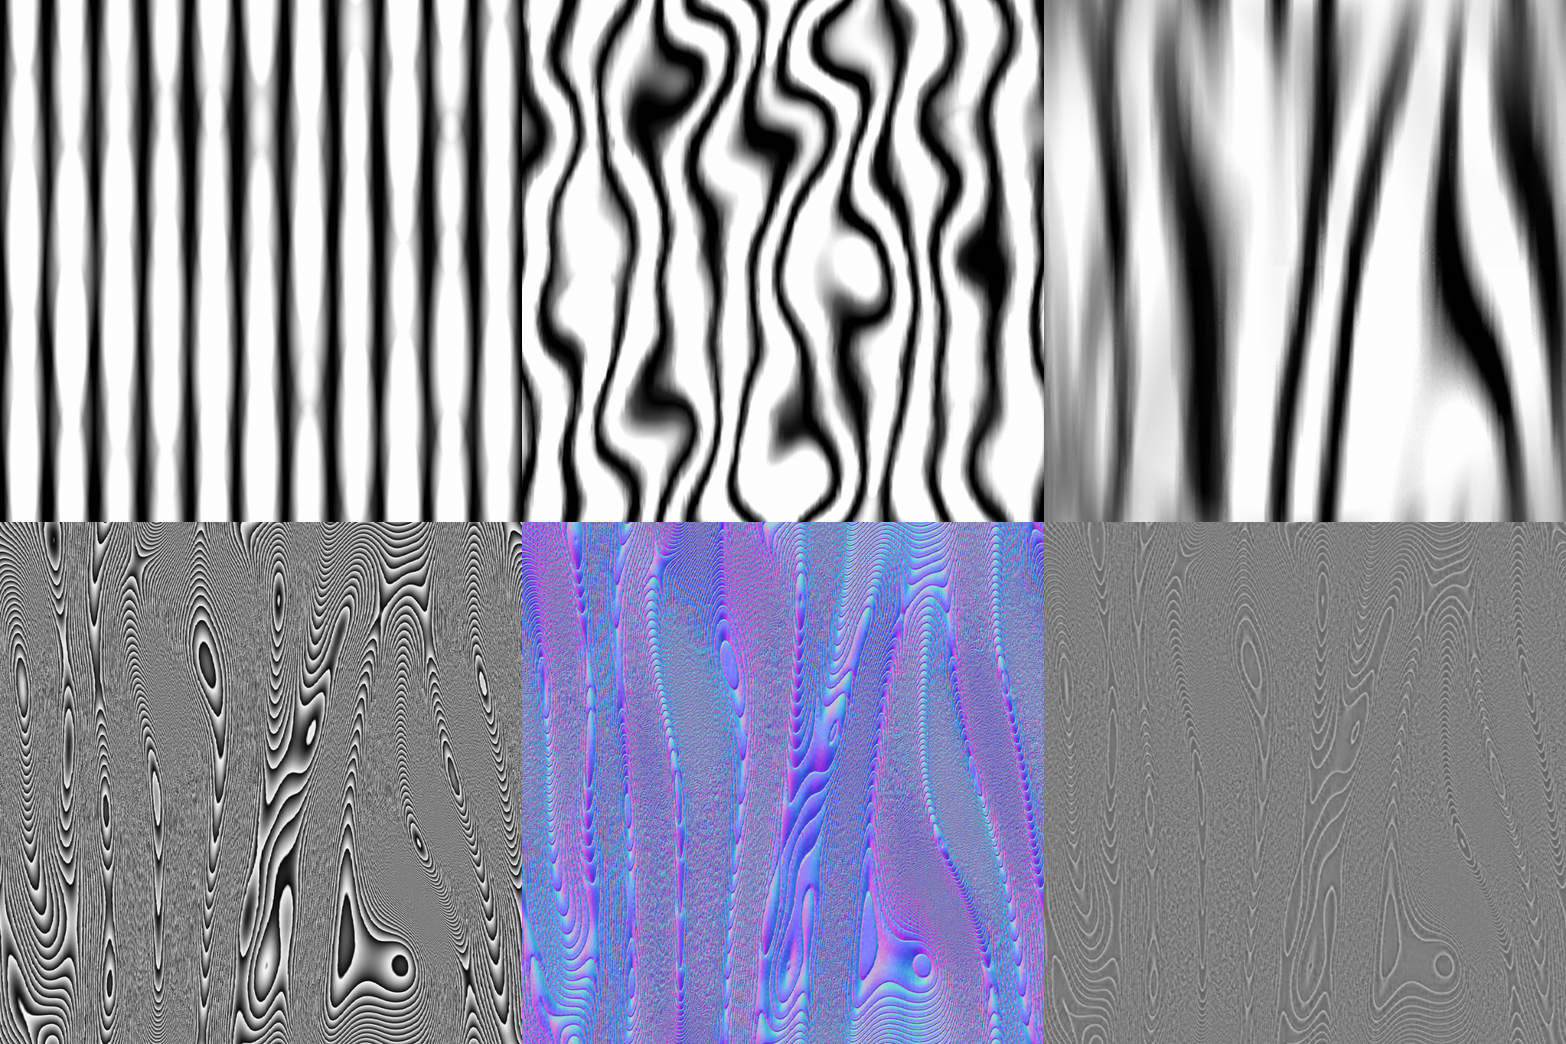
Splits and Woodworm holes
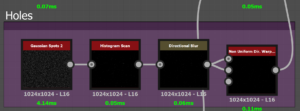
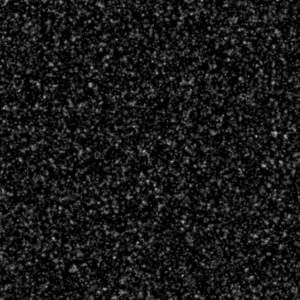
For the wood splits, I utilized the same technique as before, but instead of creating an inflating effect, I achieved a deflating effect by inverting the grunge texture prior to applying the Slope Blur. On another note, the small holes sometimes found in wood—often caused by wood-boring insects—were easy to replicate using just a few strategically placed dots and some subtle Directional Blur.

Shaping the Path: Metal Rails & Fastenings
With the wooden beams in place, the next crucial step was creating the metal rails and the fastenings that secure them to the beams. These elements, designed to bear heavy loads, exhibit specific wear and tear: eroded edges, small dents, and signs of rust developed over the years.
To capture this level of detail, I began by outlining the basic shape of the rails using Shape nodes along with Non Uniform Blur and Curve to tweak the gradient. The rail profile is relatively simple—a rounded rectangle—so I used Blur HQ to soften the edges, giving the metal a worn, slightly weathered look.

For the fastenings, I opted for a modular approach. Once again, I used the Shape node to define the bolts and metal plates, then distributed them along the wooden beams with a Tile Sampler. This node allowed me to fine-tune the positioning and scale of each fastening, ensuring that each one was precisely placed on the wooden beams. To replicate the wear on these fastenings, I applied slight variations in the placement and scaling, giving the impression of use over time.

Finally, to enhance the realism, I added weathering effects such as rust and erosion using Grunge and Warp nodes. These subtle imperfections were key in making the fastenings appear aged and naturally integrated into the overall structure.
The Ballast
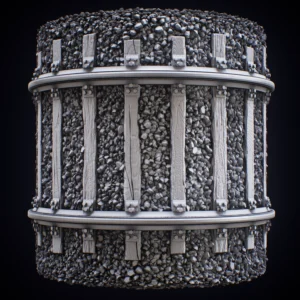
The ballast, that bed of gravel on which the tracks rest, is one of the most essential elements for the stability of the railway structure. Thousands of small rocks work together to support the weight of the trains. Through the heightmap, it’s crucial to capture not only the shape of individual stones but also the sense of irregularity and compaction.
At this point, I reused a stone generator I built some time ago by following a FastTrack tutorial. The basic technique involves using the Distance and Edge Detect nodes to create a roughly uniform layer of stones that fit together. By combining this with Gradients and Slope Blurs, I was able to achieve a fairly believable result.

The only issue with this approach is that it creates a surface that’s too flat and regular on its own. To emphasize the feeling of stacked stones, I used the Tile Sampler node to generate multiple layers with a random distribution of irregular shapes. I played around with the scale and rotation of each stone to avoid repetitive patterns and achieve a more natural look. Each individual rock was generated through customized Shape nodes, and I modified them using Warp to create worn edges and imperfections.
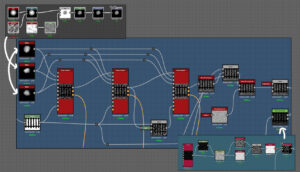
The final result in the heightmap is a sturdy and realistic foundation, where the ballast stones not only serve their structural purpose but also add texture and depth to the scene, completing the creation of the railway environment.
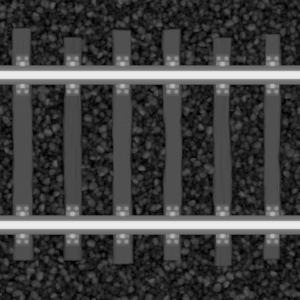
Bringing Life: Building the Color
With the heightmap complete and the forms well-defined, the next crucial step was to infuse color into each element of the material.
Wood
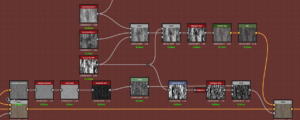
I began by working on the wooden ties, which needed to convey a sense of wear and aging. To achieve this, I used multiple color layers, starting with the heightmap processed through a Gradient. I added some color variations to highlight details such as splinters and combined it with grunge maps to enhance the overall look. Finally, I applied a darker layer of aged gray using a grunge combined with curvature to give the impression of years of exposure to the elements.


Rails
For the rails, the key was capturing the details of rust and wear. The rust variation was mainly achieved using the Grunge Rough Dirty node. In combination with the heightmap of the rails and anchors, processed through a Gradient, this provided a rich initial texture with plenty of color depth.

Next, I used Grunge Spots and BnW Spots 1 to add more variation. Using Histogram Select, I was able to isolate the top part of the rail and apply a polished metal effect only to that area.
Finally, to better integrate everything, I applied a global layer of rust on top, using a combination of Edge Dirts and Dirt as masks. The mix of browns and oranges in these details helped to highlight the age of the rails while preserving the metallic shine in the areas less affected by wear.

Ballast
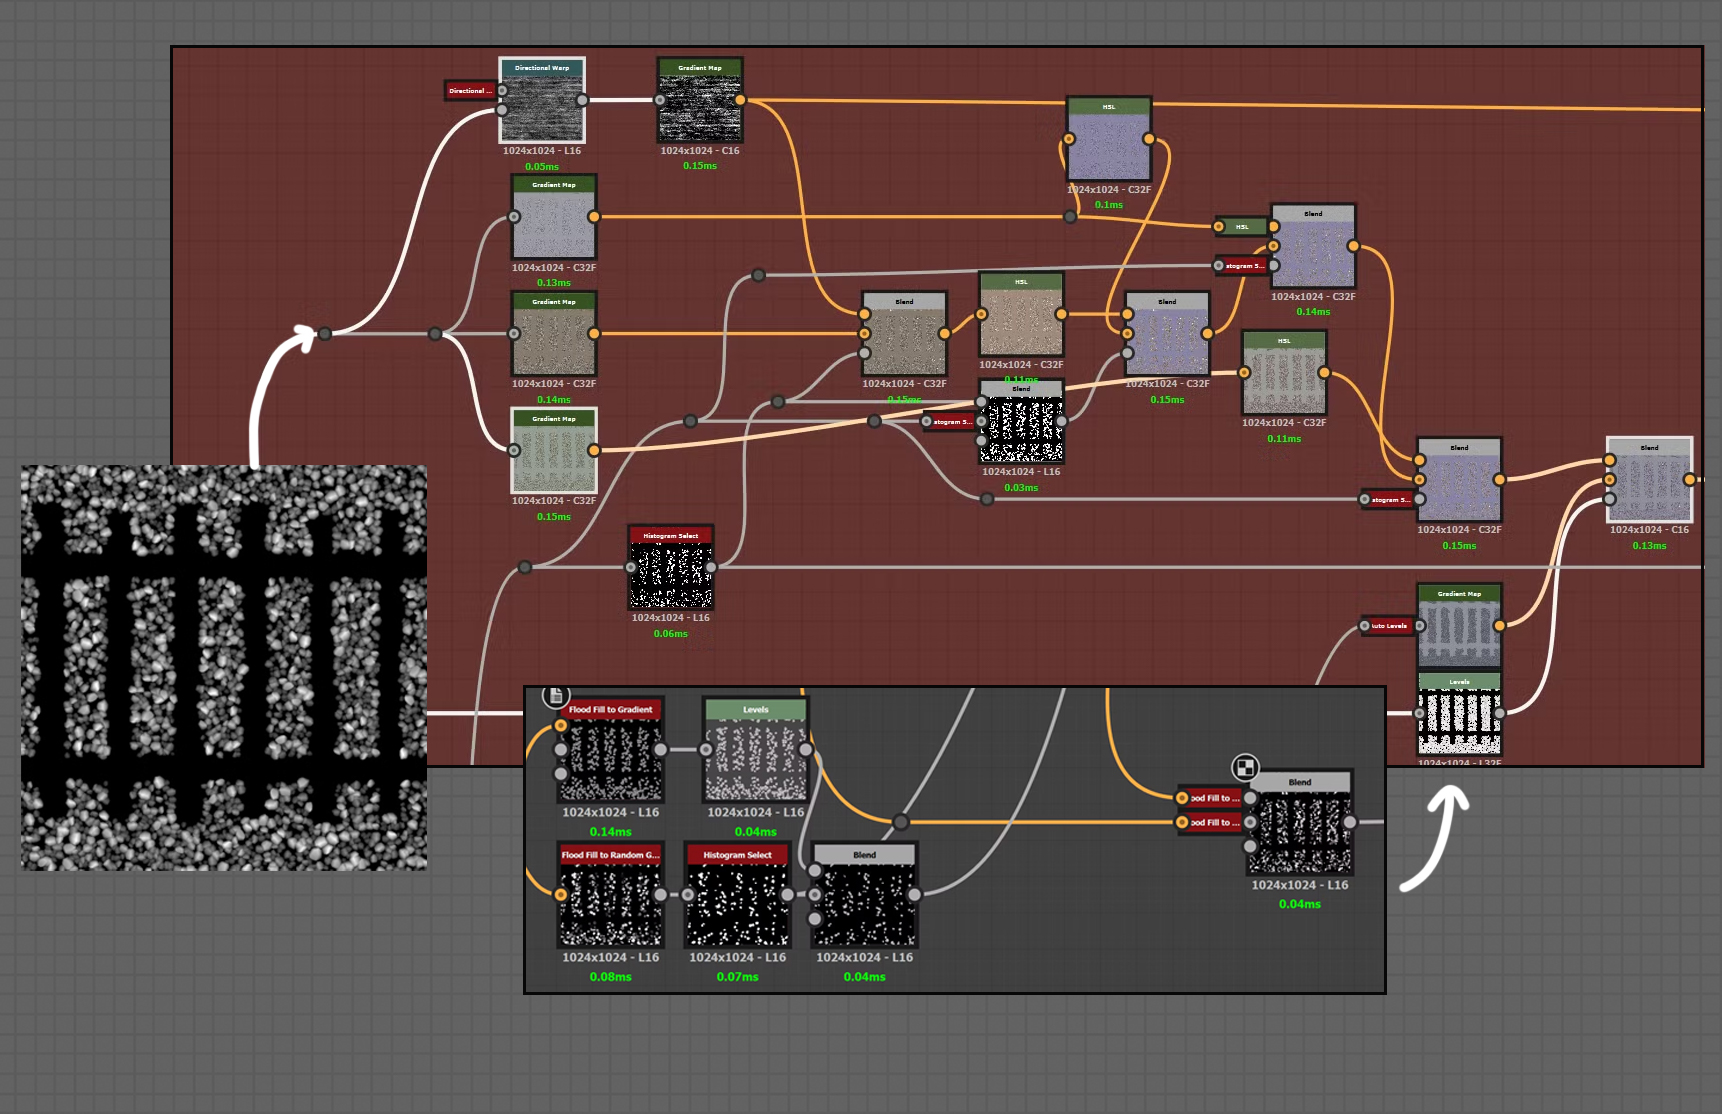
Next, for the ballast, I used a palette of grays and browns to represent a mixture of different types of rocks. By utilizing Flood Fill to Random Gradient and Histogram Range, I generated different masks to apply varying color tones to different groups of stones.
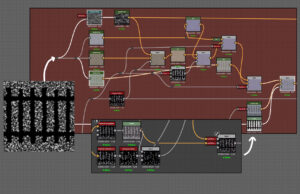
I then added some general curvature and dirt effects, adjusting the contrast and saturation to make the stones look more natural, and the final step was piecing everything together, combining the colors from all the different elements into a single unified map.
Last Details: Roughness & Normal Map
Once the color is defined, the next step is to add texture and realism to the surface, and this is where the roughness and normal map play a crucial role.
For the wooden beams, I wanted to capture the feel of a rough, weathered surface that has been exposed to the elements for years. The roughness was key here in simulating light absorption in eroded areas. I applied high roughness values to the more damaged and worn-out parts, resulting in a matte, less reflective surface. However, I kept some areas with lower roughness to create more contrast across the surface. Generally, I obtained the base roughness for each piece by converting the color to grayscale and inverting it. After making individual adjustments, I combined everything into a single roughness map.
As for the normal map, most of the information came from the heightmap, though I added final layers of fine detail to the rocks using BnW Spots 2. Additionally, I extracted the missing normal information from the base grayscale of the rust.

Conclusion: A Journey on Rails Toward Realism
One of the most rewarding aspects of creating this procedural railway material is realizing that none of the individual elements—be it the wooden beams, metal rails, or gravel ballast—are overly complicated to make. Each piece can be developed with fairly straightforward techniques. However, when these elements come together, they create a much richer, more complex result. The combination of small details, from the worn-out edges of the rails to the irregular stones beneath, adds a sense of realism and depth to the material.
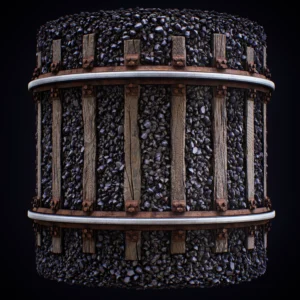
If you’re starting with Substance Designer, this project is a great way to practice blending simple components to achieve a more sophisticated outcome. So why not give it a try and see how your own creation takes shape? Feel free to download the .sbs file if you’re interested in learning more about these techniques or share your feedback with me!


